
Here we go, I decided to take pictures of the whole process of the assembly of an invitation!
Picture #1:
These are the stacks of papers cut to size

Picture #2:
This is the black piece. It is cut to 4 1/4" x 5 1/2".

Picture #3:
This is the Ivory piece, cut to 4" x 5 1/4" and sprayed with glitter spritz spray.

Picture #4:
This is the first start with stamping, I used a light pink first
for the first dimension of the
flower for the top and bottom corners. This is a 2-step stamping set. I


always start with a light color and add a dark one on top for the dimension
factor.
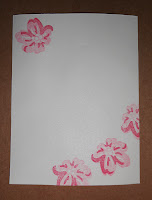
Picture #5:
This is a picture of the next layer of the 2-step stamping adventure. This is the darker color on
top to give it the shading on a cherry blossom.
I love the look that it gives it, but we are not done yet!
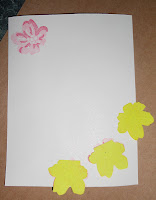
Picture #6:
This picture shows a technique called "ghosting". You use post
-it notes and stamp up near
the adhesive part of the note.
Cut around the image and cover the corresponding image on the
card.
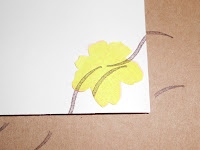
Picture #7:
This pictures shows what you do when you ghost! Stamp over the post it and it protects what has
already been stamped!
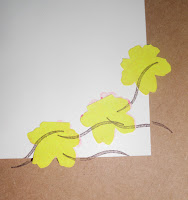
Picture #8:
This is what it looks like when the post-it ghosts are taken off.
Picture #9:
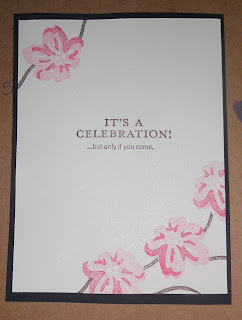
Here is the piece with the sentiment stamped on it! Only one more step to go!!
Picture #10:
Here is the finished product with the layer of black behind the ivory! It's complete!
